“At my own engagement party a year ago, I asked my stylist to do a bow bun. I love bows; I love buns. So the “bow” bun was clearly my up-do of choice!” says photographer, Jen Huang. We decided to combing our love for Jen, and bow buns, and share this tutorial with you, shot by Jen! There are many different versions online, so we can’t take credit for the idea, but here’s how to do it:


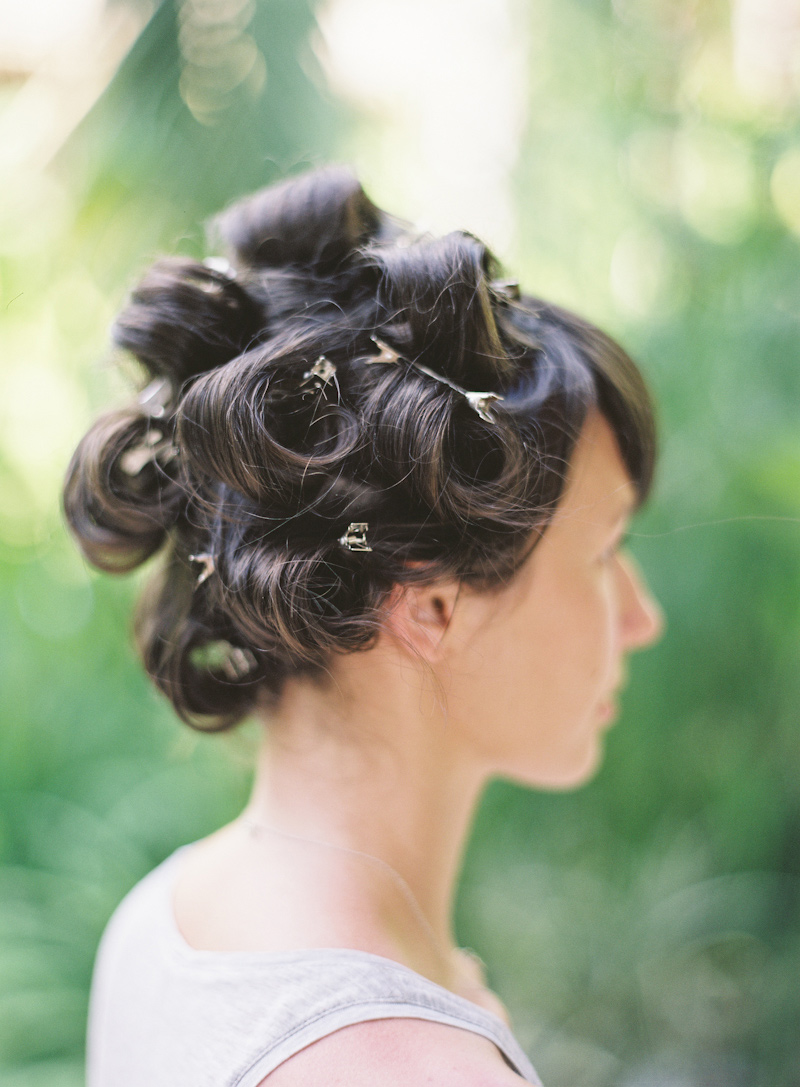
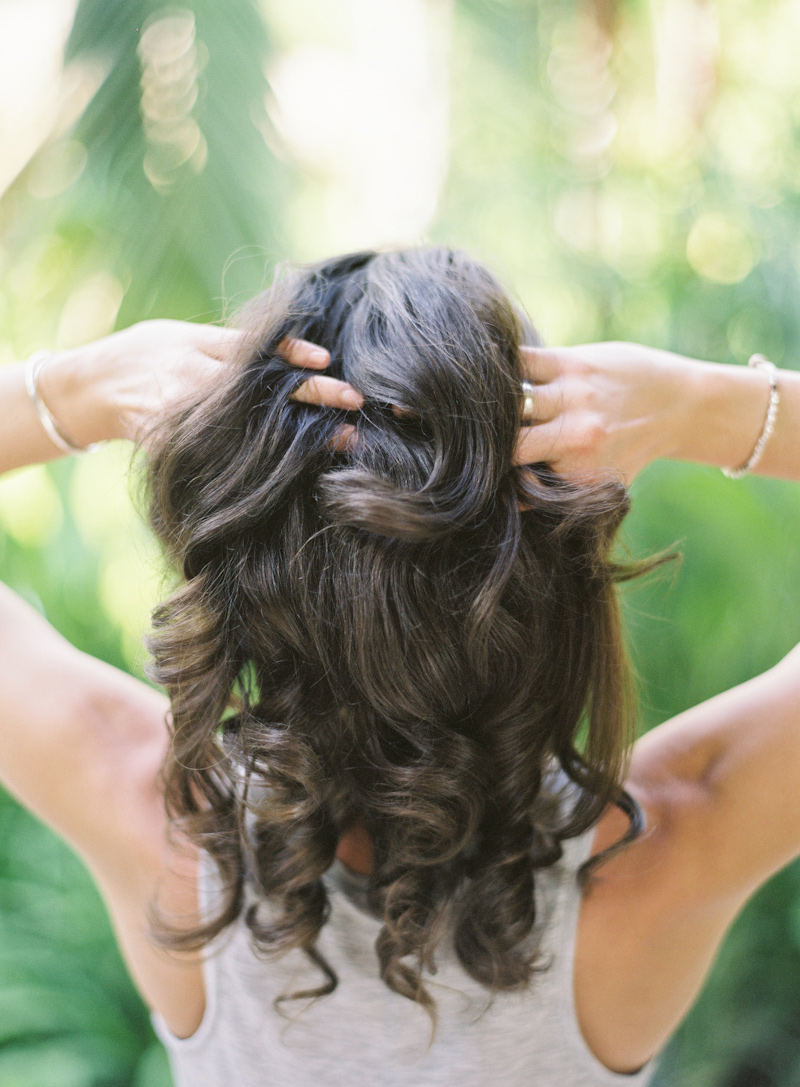
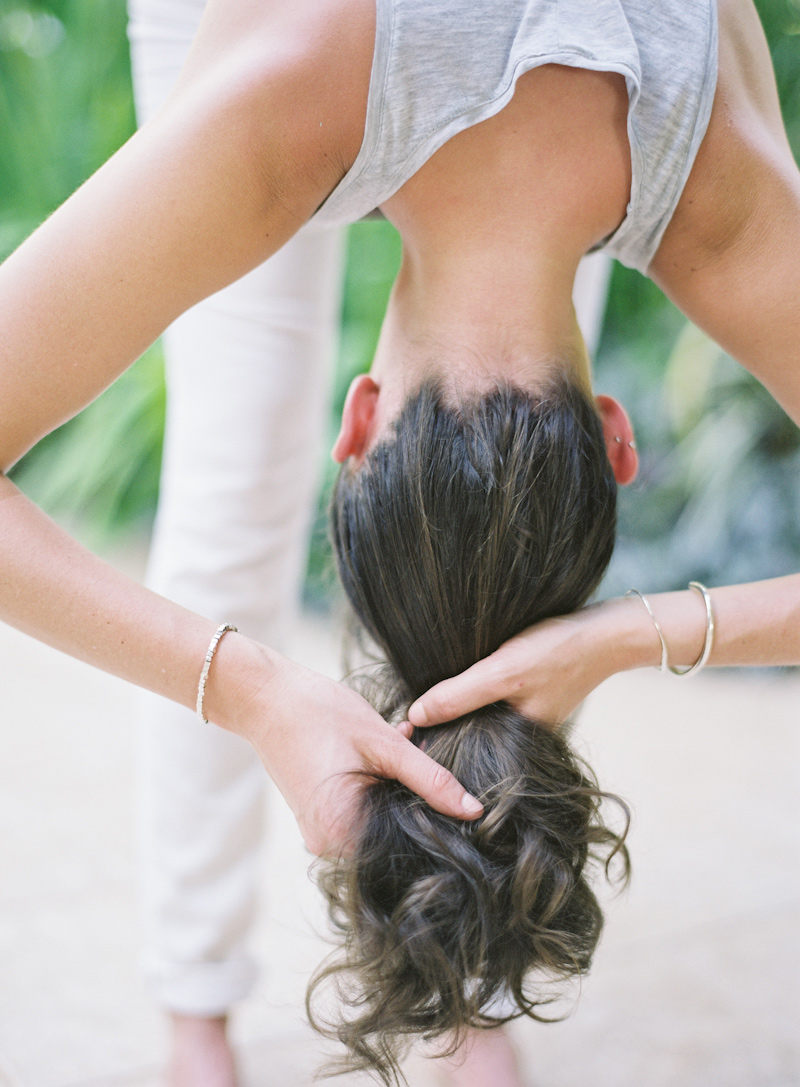
1. Curl your hair for volume and have plenty of hairspray at the ready


2. Pull your hair up into a pony tail, but when you’re pulling your hair through the loop the last time, only pull it through halfway, leaving a little tail

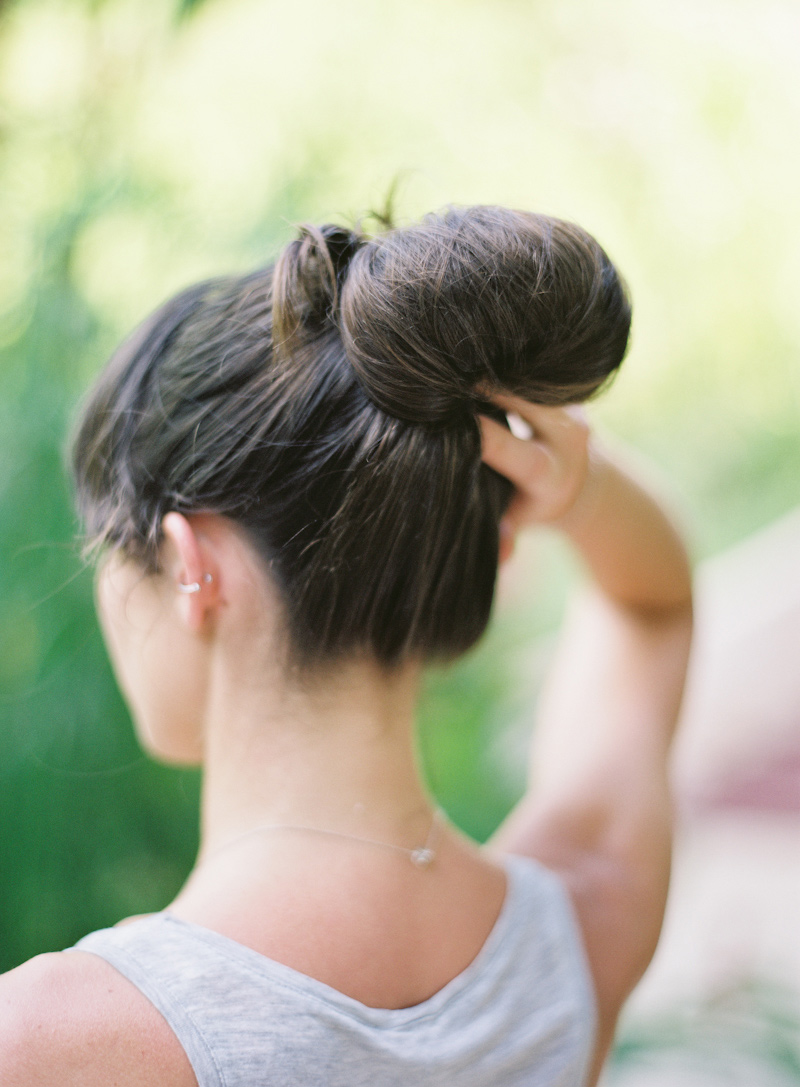
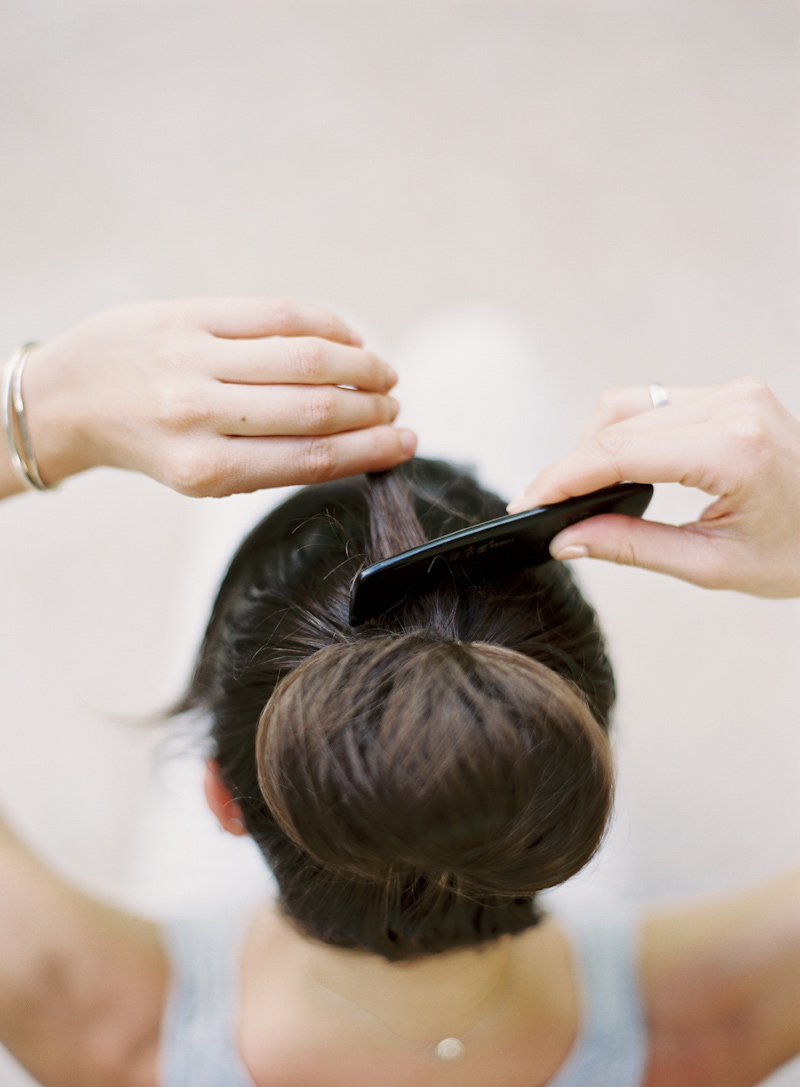
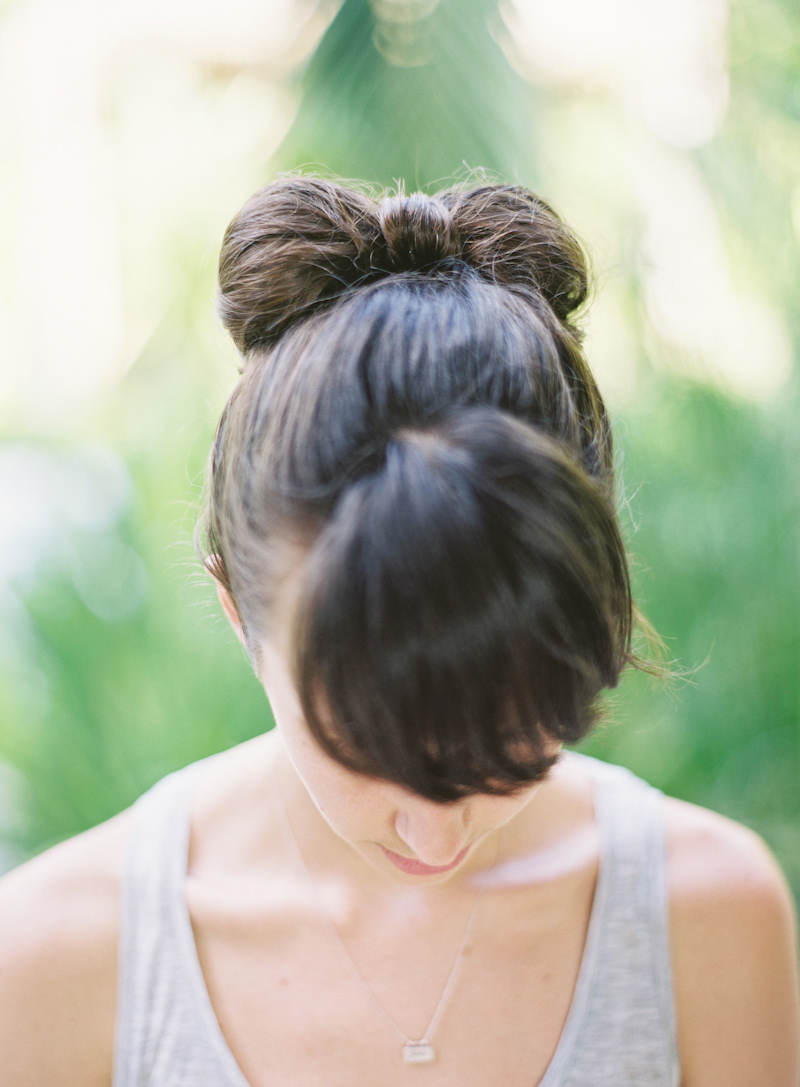
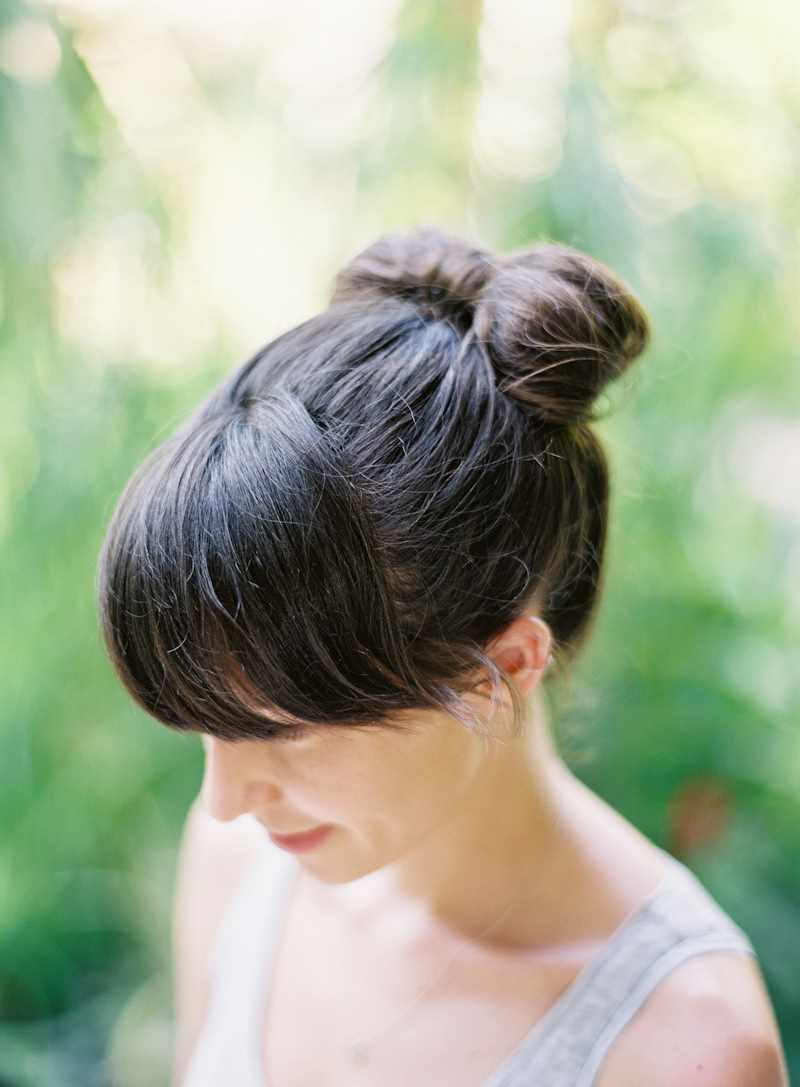
3. Split the ponytail “poof” in half and loop the “tail” over the split to create the “center” of the bow


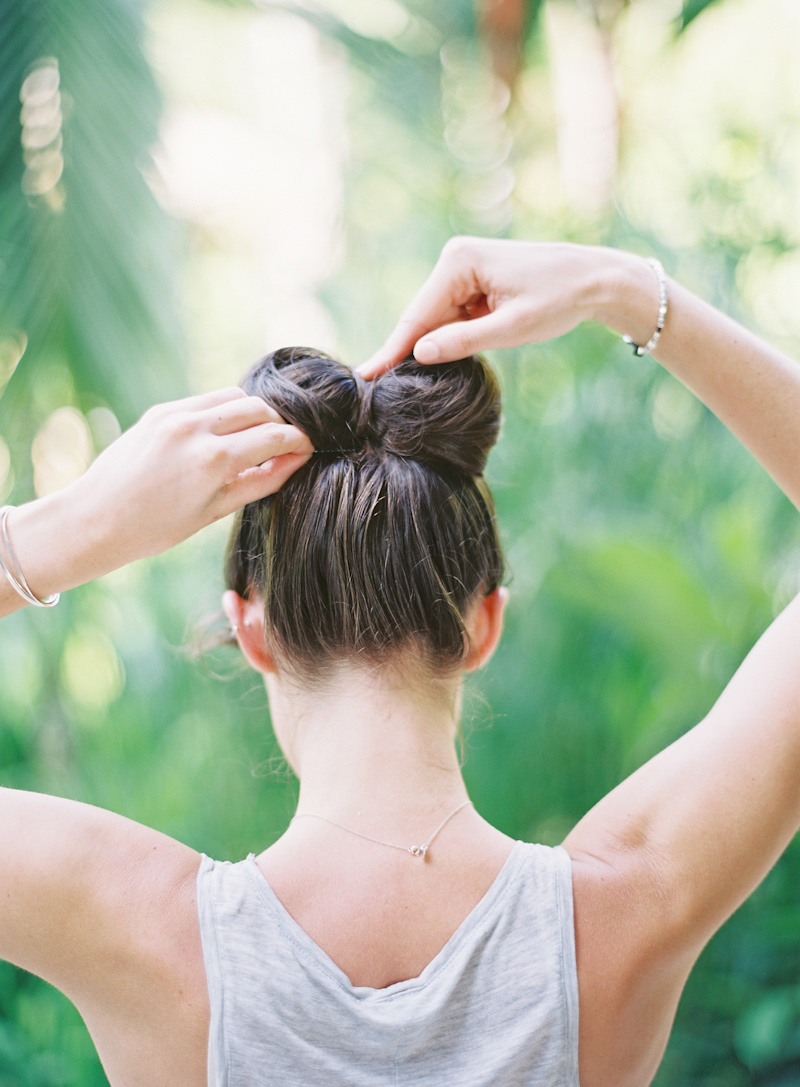
4. Secure with bobbies or hair spray and spread the two sides of the bow for maximum effect. Thanks to the beautiful Brie for modeling in Costa Rica.
(What’s that? You wanted to see Jen’s gorgeous engagement party and her own bow bun? We thought so. Head here!)
Vendors: Photography: Jen Huang // Model: Brie // Shot on Fuji 160S and processed/scanned by RichardPhotoLab