I want to become a society lady Rockin' a new rock?!

Today, we are inviting MaeMae & Co. to start the week off for us with a tutorial that we are crazy excited about: “How to use a mood board.” MaeMae is the queen of genius inspiration boards, and she’s getting down and dirty with us on how to utilize that inspiration to help your design process–think wedding design or invitation design–these tips are crazy helpful! Take it away, MaeMae!

malek_moodboard
Click to expand for more

Creating a mood or inspiration board (both digitally and physically) is an important part of our design process at MaeMae & Co. It sets the tone for the entire project, and acts as a guide as we move through designing each element of the project. However, if you’ve never worked with a mood board before, we realize that the concept can be a bit confusing. Next time you work with a creative who is using a mood board (or next time you make one for yourself!), keep these two tips in mind:

maemae_mood_method_9

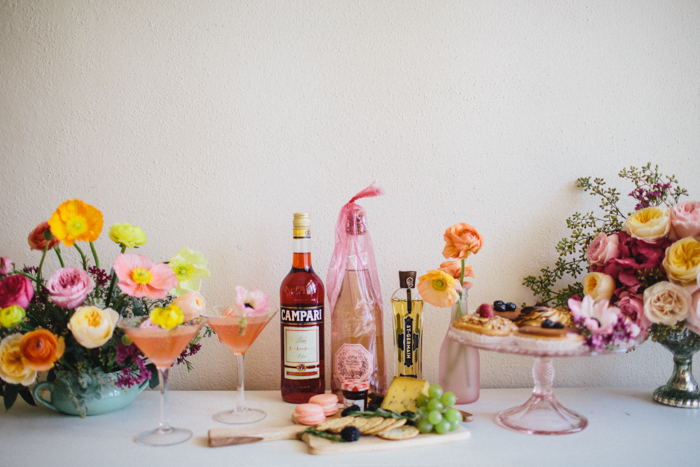
1. It’s all about the feeling: The point of an inspiration board is to create a visual vibe for your project. It is not a place to nail down specifics like exact fonts or images, but rather think of it as creating a world that your brand, website or wedding stationery would live in.

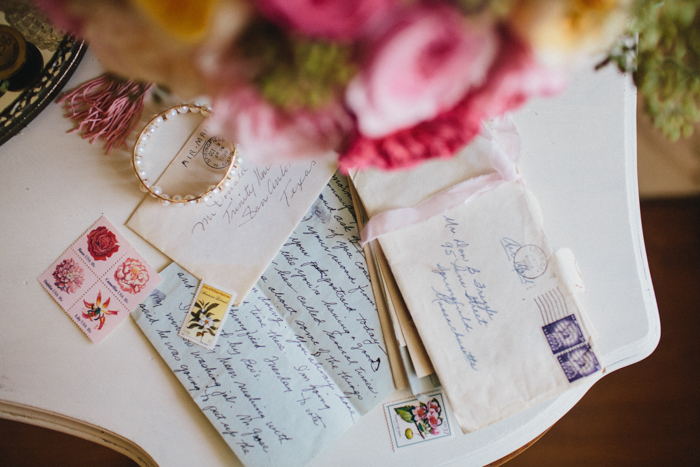
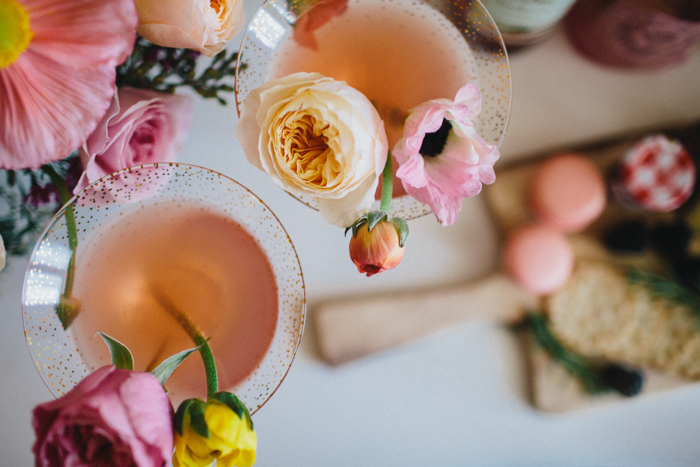
When making a mood board, we focus on defining the color scheme, texture and graphics that best represents the project’s world. Rather than copying those inspirational images exactly, we use them to guide our design choices and find or create similar graphics for your unique project. For example, if we include an photograph of roses and an etched wreath in a mood board – we may combine those two visuals and create a vintage wreath made of roses for the project’s monogram.

maemae_moodboard

2. But, you won’t get what you don’t see: While an inspiration board is about the vibe of the project, we do follow the visuals closely when designing. For example, if there are blocky fonts paired with a vintage script in a mood board – don’t expect to see modern calligraphy in the first design proof. We always encourage our clients to point out anything in the mood board that they feel is missing. So if they have their heart set on modern calligraphy, we always edit the inspiration board to include an image that represents their request. Similarly, if there is something on the mood board that a client isn’t digging, we’ll remove the image and replace it with one that better reflects their idea.

Check out our mood + method blog series, and follow us on instagram for more inspiration!

We like
our sponsors

We think you will too.

If you haven’t already checked out part one of our feature about “How to Style Your Getting Ready Photos” you absolutely must. This afternoon, we’re onto part two, a little bonus round, if you will, thanks to Ashley Lindzon Events and Brietakespictures of Mango Studios.

getting-ready-bridal-shoot-1
Click to expand for more

1. Shoes!!! It’s unlikely you’re willing to confess how many shopping hours and dollars you spent on those shoes. So make sure your photographer nabs the perfect shot!

getting-ready-bridal-shoot-2

2. Never in your life will it ever again make sense to wear a veil, so be sure to include this beautiful once-in-a-lifetime accessory in your images. It’s always so beautiful to pair with your lingerie!

getting-ready-bridal-shoot-3

See we told you! Just like these images, part one featured love letters and desserts…two of our favorite “Getting Ready” details!

getting-ready-bridal-shoot-4

3. Include a few classy lingerie shots that you wouldn’t be embarrassed to show grandma!

getting-ready-bridal-shoot-5

4. The half dressed shot is always so classic and downright lovely.

getting-ready-bridal-shoot-6

5. Flowers, flowers, more flowers. Le sigh.

getting-ready-bridal-shoot-7

flowers

Styling and Coordination: Ashley Lindzon Events // Photographer: Brietakespictures of Mango Studios // Florist: Blush and Bloom // Lingerie: Fortnight // Wedding Dress and Lace Kimono: Lowon Pope // Venue and Catering: The Drake Hotel // Hair and Make-up: Ashley Readings Hair and Make-up // Sweets: Nadia & Co. // Rentals: Happily Ever After Events // Model: Blythe Stark

Getting ready for your wedding day is one of the most exciting parts of the big day!!! Whether your an absolute bundle of nerves or full of yoga induced calm, the hours primping, sipping, and chatting should be cherished!  Photographers are almost always on hand to capture these moments, so we thought we’d run down a few things you ought to have on hand to make your beauty prep run smoothly and look beautiful!

Are you ready for these beautiful images put together for us by  Alison Vagnini Photography, Mile High Bride, Holly GerardTricia Egan, and Jessica Hearing with GORGEOUS florals by Violet Floral Design? Be sure to check in later today for part two of our Getting Ready Styling Tips!

how-to-style-getting-ready-wedding-photos-1
Click to expand for more

1. First up, because obviously we’re obsessed with flowers, we think you ought to have your flowers delivered early. This will make everything feel real as you get to enjoy the beauty of your fleeting blooms! Plus, it’ll make the room look extra gorg for the photos!

how-to-style-getting-ready-wedding-photos-2

how-to-style-getting-ready-wedding-photos-3

how-to-style-getting-ready-wedding-photos-4

2. Next, be sure to have on hand some of the lovelier details you’ll want to remember, such as your wedding day jewelry, and even the perfume you choose to wear (I bought a new bottle and used it sparingly during our engagement year, so the smell reminds me of all those wedding memories!). Make sure you have a gorgeous ring box to display your ring, and sentimental items like grandma’s hankie, or your something old/borrowed/blue can be worth capturing. You may also want photos of that sweet letter to your groom–beautiful stationery is an extra bonus!!!

how-to-style-getting-ready-wedding-photos-6

3. Your bouquet is always such a design highlight, so make sure that gets captured on film!

how-to-style-getting-ready-wedding-photos-5

4. A shot of your dress is a must! (Always make sure to have a beautiful hanger, rather than a heavy duty plastic one. Oh the horror!)

how-to-style-getting-ready-wedding-photos-7

5. Don’t forget to bring your wedding stationery on the day of the wedding. This is a great time to capture photos of those invites you worked so hard on! Make sure you have lovely stamps on hand to amp up the style.

how-to-style-getting-ready-wedding-photos-8

how-to-style-getting-ready-wedding-photos-9

6. “Getting ready” shots of you are lovely in a well lit area with a simple background. I love when the bride’s makeup is already on…who wants to remember dark eye circles and pimples?! (Calling all photographers: No need for ample shots of makeup trays!!! Rather, keep it personal and simple!) Don’t forget a really lovely robe, and be sure to bring extra nail polish for final touch ups!

how-to-style-getting-ready-wedding-photos-10

how-to-style-getting-ready-wedding-photos-11

7. Snacks for you and your ladies are always a must. I also think a sip or two of a cocktail can help calm those nerves! Just make sure to pace yourself and drink plenty of water too! Stay hydrated and well fed! If you feel like throwing a few blooms in there to style up the drinks and fruit platter, I’m all for it. I mean you can just call me “Mrs. Over-the-Top.”

how-to-style-getting-ready-wedding-photos-12

8. Lastly, be sure to get that final shot of you in your gown, putting on the finishing touches. How gorgeous, no?

Vendors: Photography: Alison Vagnini Photography // Planning: Mile High Bride // Venue: Parkside Mansion – Denver, Colorado // Styling: Holly GerardTricia EganJessica Hearing // Florals: Violet Floral Design // Vintage Rentals: A Vintage Affair Events & Rentals // Hair: Hair with Kate // Makeup: Kelsey Zabawa Makeup Artistry // Gowns: Leanne Marshall & Rebecca Schoneveld from a & be Bridal Shop // Paper Goods: Little Green Chair Studio // Models: Hannah Blatt & Allie Frank // Jewelry: Sara Watts // Bridal Robes: Nordstrom

One of the hardest decisions we had to make for our wedding was choosing a photographer. Not only do we look at gorgeous images every single day, but we also have so many incredible friends who just so happen to be killer photographers. But when it came time to decide, I knew Jen Huang was a perfect fit. Not only has she already shot Bryan and me (which means we are super comfortable with her) but we are obsessed with her images. I love that Jen shoots film (duh–that was a no-brainer!) but I also love how beautifully she captures color. Her images are clean and refreshing, yet still possess the capacity to pop! Plus, Jen is a pretty rad girl to hang out with!

jen_huang_central_park_engagement_1
Click to expand for more
jen_huang_central_park_engagement_2
jen_huang_central_park_engagement_3
jen_huang_central_park_engagement_4
jen_huang_central_park_engagement_5

If you are a photographer who wants to understand HOW Jen actually makes magic, then now is a perfect time to check out her brand new “Workshop-in-a-Box”. Jen Huang has been offering professional wedding photography workshops for the past few years for film and digital shooters, and has just announced her new book, a “Guide to Fine Art Weddings”. But she’s always getting inquiries from photographers who are hungry to learn from but aren’t able to attend her workshops in person. To meet the needs of a growing group of photographers who are hungry to learn about “Fine Art Photography” in a more interactive way, she has created a “workshop-in-a-box,” a unique new concept to bring the workshop experience home.

JenHuangGuideCover
jen_huang_workshop_in_a_box_1

The guide includes her new book, a “Guide to Fine Art Weddings” which offers advice and anecdotes from Jen’s career on how to succeed in the fine art wedding industry; including passages on equipment, branding, pricing etc. In addition to the written portion, the book pairs image galleries with technical specs about each photograph so that information can be accessed in a visual way. To assist in branding, printing and shooting – each kit includes a DVD audio interview with Jen and RichardPhotoLab.com, medium format film, sample papers for fine art prints, InDesign album templates, a DearJendo.com correspondence kit with a rubber stamp, and hand made cards for clients – all wrapped in muslin bags and presented in a gorgeous wooden keepsake box. It’s like a D-I-Y workshop chock full of goodies!  

jen_huang_workshop_in_a_box_2

The book can be purchased at JenHuangWorkshops.com, but we’re giving one away here! WOOHOO! Just leave a comment and let us know you’d like to win! You can also head over to SnippetandInk.com for images from a recent shoot and a sneak peek INSIDE the book, and also to 100 Layer Cake to get a discount code to purchase the kit at JenHuangWorkshops.com (only till Friday!)

Credits for “A Picnic Engagement”: Photography – Jen Huang Photo // Models – Jarred & Leisa // Floral Styling, Rentals  – Poppies and Posies // Ombre Sandwich Tags – Dear Jendo

Have you met the Mavens yet?

Our Blogstress Mavens are real brides, planning (and blogging!) their real weddings for you. They are completely aflutter with incredibly helpful posts about everything from Lady Beth’s write up on your Aisle Style, to Lady Jess’s tips on Long Distance Wedding Planning (total must read!!!) and Lady Kacie’s two part engagement session idea that might make you AND the groom happy. Plus, Lady Rose is already narrowing down her honeymoon destination by process of elimination. Oh, and Lady Brunette wants to know, should she DIY her wedding stationery? She needs your help deciding!

We’re also obsessing over Lady Tessa’s Pinterest confessions and she’s working on turning her dream wedding into reality with a few affordable switches. I know you’ll love her post (and the inspiration board she shared!). We thought you’d love a little intro to her post, so read below!

DreamWeddingDecorations2

From Lady Tessa:

It is so easy to picture my perfect dream wedding. I honestly didn’t start fully building this picture until after Z proposed, but the image has become quite clear in the past 12 months of planning. Pinterest (and wedding blogs) have made sure that I know exactly what every detail of that dream wedding would look like and it’s so very easy to get lost in the less important, but very beautiful, sweet details.

A riverside ceremony under a tree with a beautiful wood and white chuppah would set the stage. Hay bales covered in old quilts lined by lanterns and flowers would seat our many loved ones. The sweet sound of music would fill the air and the light would shine perfectly through the trees. At the reception we would have mismatched china and giant globe lanterns strung across tables filled with flowers and candles. Guests would drink out of mason jars and fireflies would fill the night air. We would feast on organic food grown by a local farm and every detail, from the vintage board games on the tables to the wooden centerpieces would make for a casual, but elegant scene. A live band would begin playing all of our favorite dance tunes and after a few cocktails, everyone from kids to grandparents would be on the dance floor. A food cart would come in and bring us tapas for a late night treat and that extra energy would be enough to keep the dance party going. As things wound down, our friends would get out their guitars, mandolins and fiddles and a late night music jam session would spontaneously take place…BUT…

click here to read the rest!

Collage Credits: Lights – via Weddings by Lilly // Hay Bales – via Wedding Chicks // Chuppah – via Cocktails and Details – photo by Blenda Montoro  // Earrings – via ShopBop // Rock Photos – via Country Living photo by Miki Duisterhof // Hair Garland – via Green Wedding Shoes – photo by Priscila Valentina // Bouquet – Photo by Jillian Mitchell // Programs – via Intimate Weddings – by Memento Designs // Lemon Jars – photo by Brittany Janelle Photography // Decorations – The Look Wedding Photography // Painted Cans – via Wedding Paper Divas – photo by Jayne Weddings //